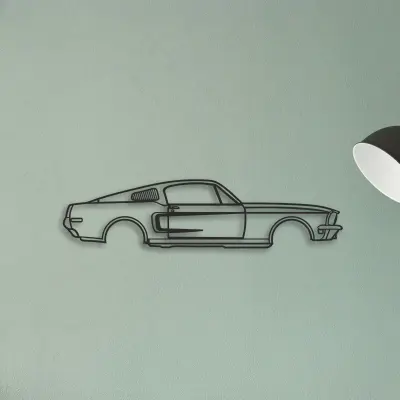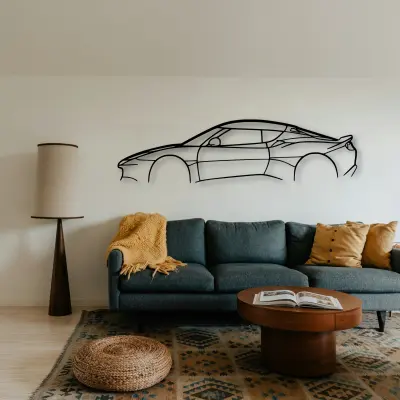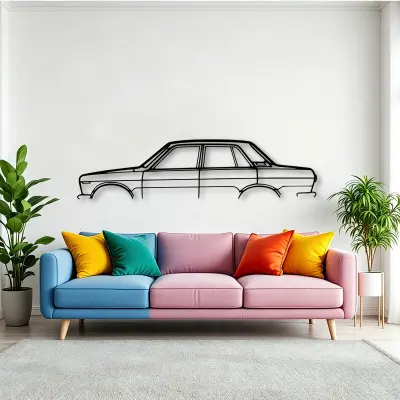
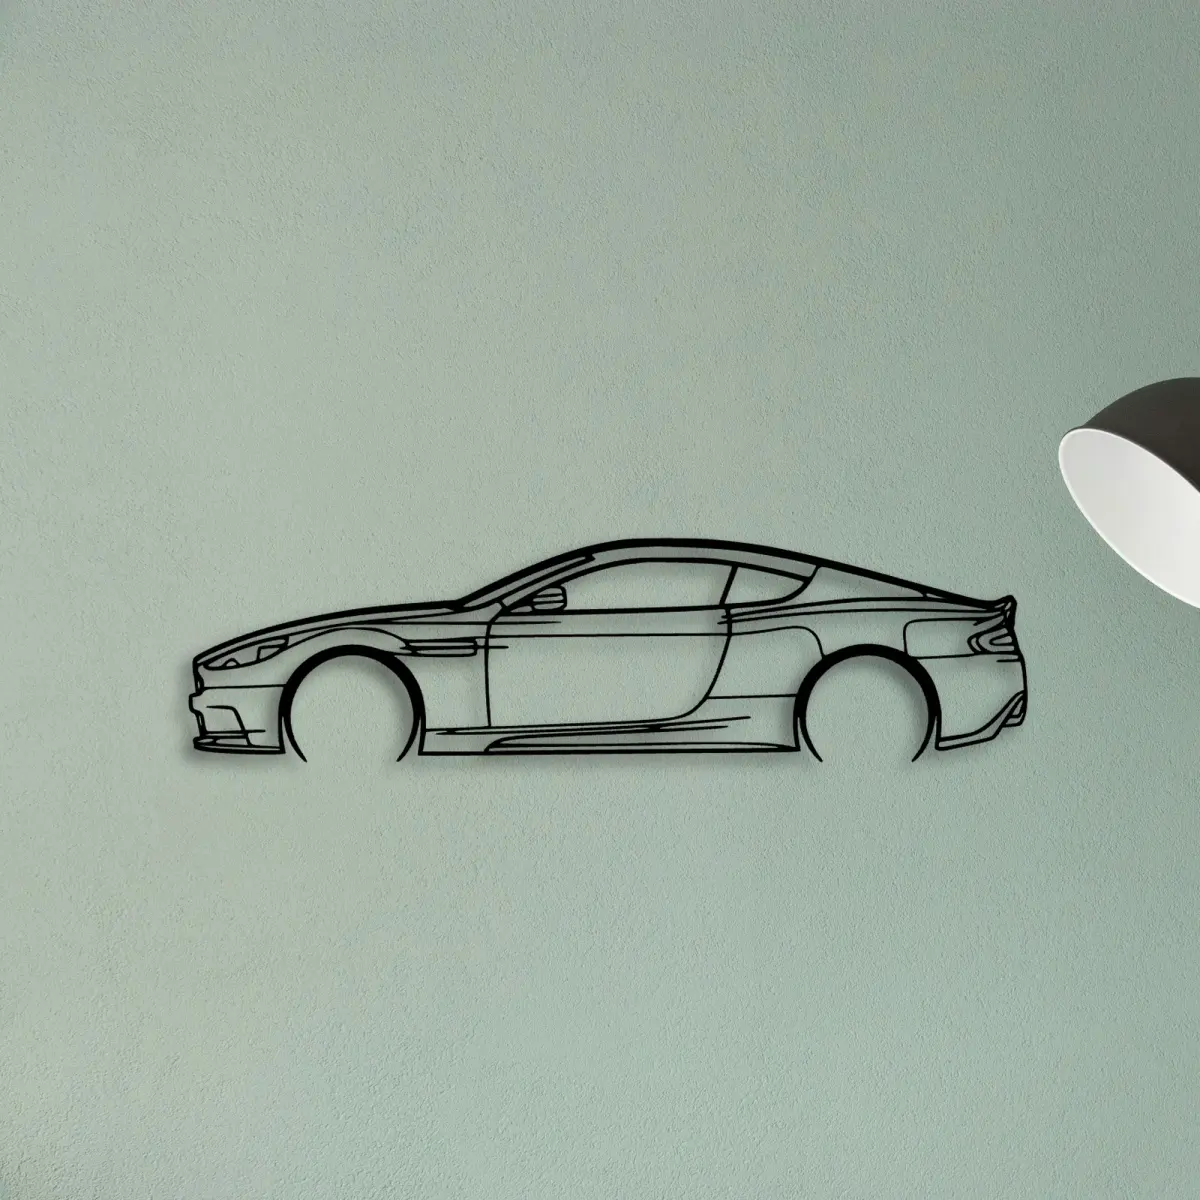
A single-marque garage wall is the most satisfying thing you can build with car art, and the easiest to overdo. Aston Martin is a good marque to build one around: the range spans a long-hood grand tourer, a modern SUV, a 1980s lightweight and a current hypercar, so you can get real visual variety without breaking the theme.
This is the plan: one anchor, two or three supports, deliberate spacing, and an editing pass at the end.
Anchor piece vs fillers
Every tribute wall needs one piece that is clearly the biggest and clearly the centre. For Aston Martin, the anchor should be a long, low grand tourer profile — the DBS 2012 is the obvious candidate, because its shape reads instantly from across a garage.
The supports do the opposite job. They should differ from the anchor in shape, not just in name:
- One tall, modern piece. The DBX 2021 gives you an SUV silhouette that contrasts with the low grand tourer.
- One compact or unusual piece. The Swift DB1 1985 is short and purposeful, which breaks up the length of the other two.
- Optionally one current hypercar. The Valkyrie 2022 is the boldest shape in the range and works as a deliberate accent rather than a support.
An Aston Martin anchor and two supports
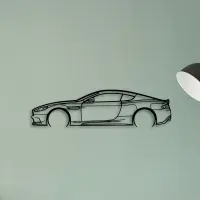
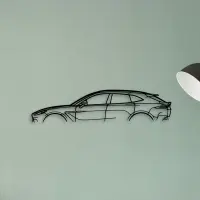
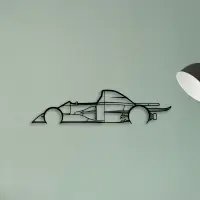
Spacing an Aston Martin grid
Three pieces on one wall needs a shared axis and consistent gaps:
- Anchor at 120 cm or 140 cm, centred.
- Supports at 80 cm or 100 cm, one each side.
- Align all three on the same vertical centre line, usually 150–160 cm.
- Gap of 30–40 cm between pieces. Closer and the wall reads as one object; wider and it reads as three unrelated ones.
Mark every hole with low-tack tape before drilling. Three pieces on one axis is the layout where a 2 cm error is visible from across the room.
Cable and fixture planning
A tribute wall usually means lighting, and lighting means cables. Plan the run before you hang anything:
- Decide the fixture positions first, then hang the art around them rather than the reverse.
- Keep fixtures at least 60 cm off the wall plane to avoid glare on the matte finish.
- Run cables along the ceiling line or inside a trunking strip, never diagonally across the wall.
- If you are using a shelf or a bench below the wall, leave 30 cm of clearance so the cables can drop behind it.
Editing the wall back
The final step is the one most people skip. After the wall is up, stand back and remove anything that is not working. A three-piece wall with one wrong piece is worse than a two-piece wall.
The usual casualty is the boldest piece. A hypercar silhouette is striking, but if it competes with the anchor for attention it weakens the whole wall. Take it down, put it somewhere it can dominate on its own, and let the anchor do its job.