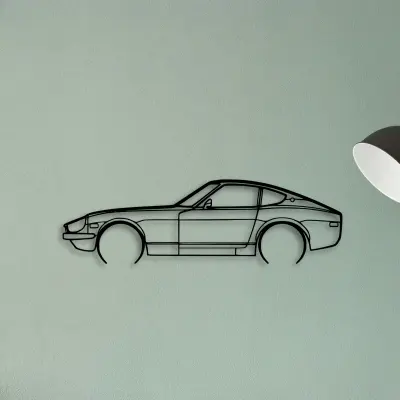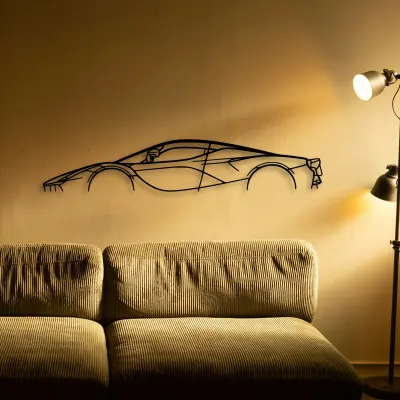
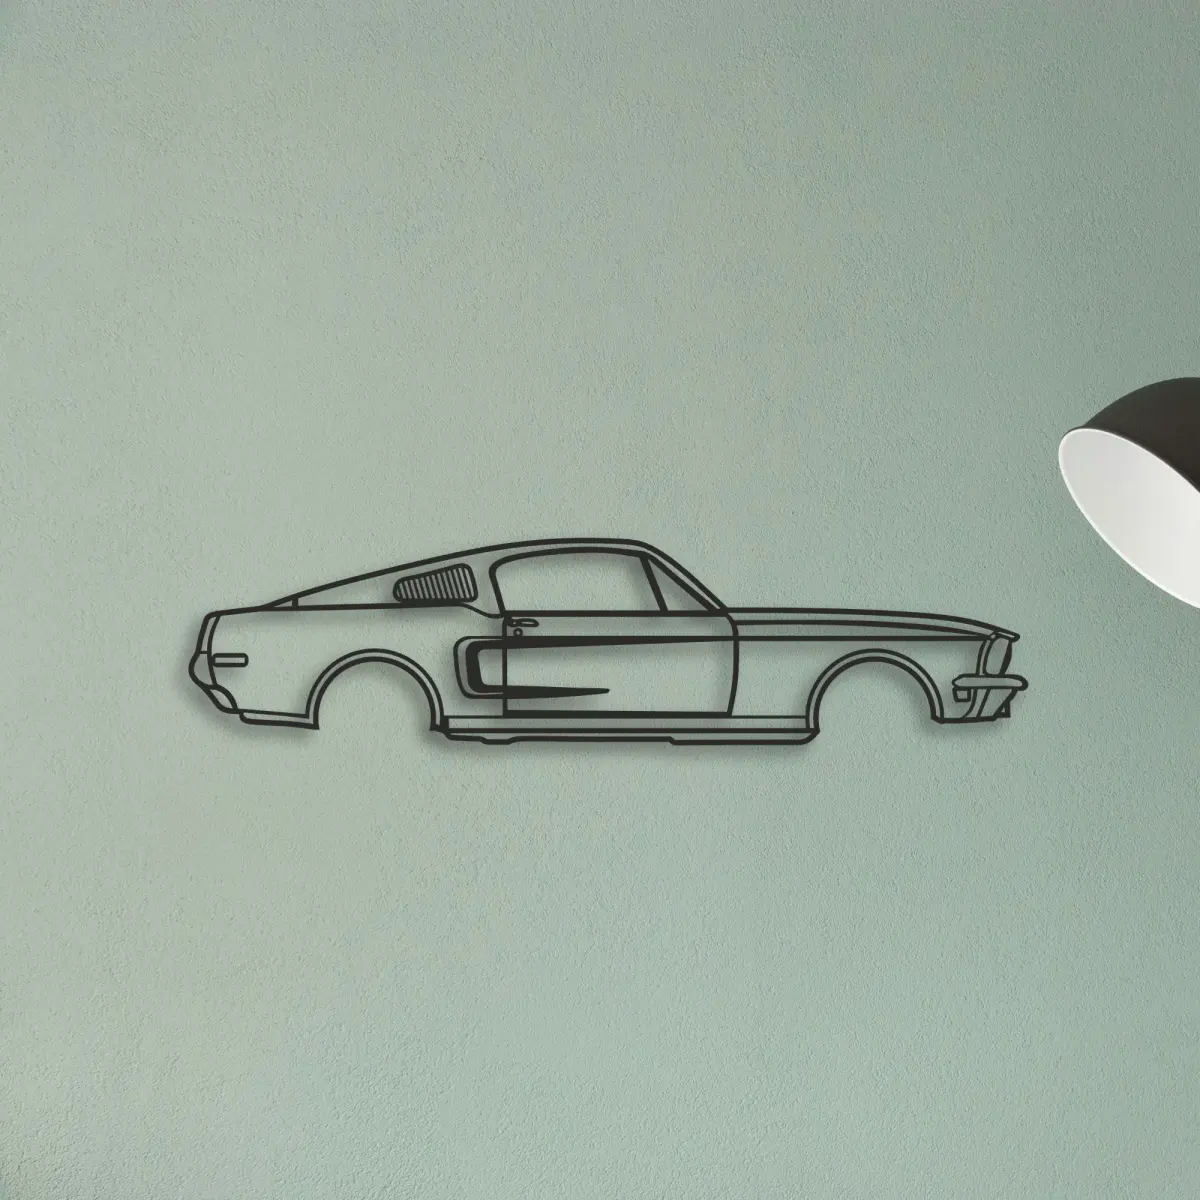
A garage is the easiest room in the house to put car art in, and the easiest to get wrong. There are no soft furnishings to argue with, but there are doors, tracks, shelving, a car and a workbench — all of which will fight your layout if you do not plan for them.
Here are three layouts that work, with the measurements behind them, plus the height rules and the four mistakes that account for most disappointing garage walls.
Measuring the garage wall
Measure twice before anything else: the usable width between obstructions, and the height from floor to the lowest thing on the ceiling.
- Usable width is not wall width. Subtract the door swing, the edge of any shelving, and the track if you have an up-and-over door.
- Usable height runs from the floor to the lowest obstruction. In most garages that is the door track or a shelf, not the ceiling.
- Standing eye height is about 150–165 cm. A garage wall is viewed from further back than a hallway, so treat 165 cm as your reference.
Layout 1: One anchor piece
The simplest plan and the one that fails least. One large piece, centred on the wall or on the feature you want to draw attention to.
- Wall width 120–200 cm: a single 120 cm piece, centred.
- Wall width 200–300 cm: a single 140 cm piece, centred, with 40 cm of clear wall either side.
- Hang it so the vertical centre sits at 150–160 cm. On a tall wall this leaves the piece below eye level, which is what you want in a garage.
Layout 2: Anchor plus two supports
One large piece with two smaller ones flanking it. This is the layout that makes a garage look deliberate.
- Anchor at 120 cm or 140 cm in the middle.
- Two supports at 50 cm or 80 cm, one each side.
- Centre the supports on the anchor's vertical centre line, so all three share one axis.
- Gap between pieces: 25–35 cm. Closer than 20 cm and they read as one confused block.
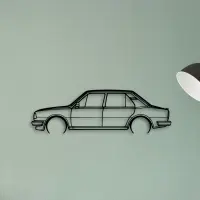
A muscle-car anchor with two smaller pieces either side works because the shapes are all strong and simple. The MUSTANG GT390 below is a good anchor candidate: a long, low, instantly readable profile.
An anchor and two supports

Layout 3: A grid
Four to six pieces of the same size in a regular grid. This is the layout that most needs planning on paper first, because a grid shows every error.
- Use pieces of one size only — mixing sizes in a grid looks like an accident.
- 50 cm pieces: a 2×2 grid needs about 130 cm of width and 130 cm of height including gaps.
- Gap: 20–25 cm between pieces, both horizontally and vertically.
- Mark every hole with low-tack tape before you drill. A grid is the layout where re-drilling is most visible.
Common layout mistakes
- Hanging too high. Garage walls get hung at standing eye height or above, which puts the piece in the worst possible position. Drop it to 150 cm centre.
- Ignoring the door. An up-and-over door needs clearance. Check the full swing, not just the closed position.
- Mixing too many body styles. Three different silhouettes at three different sizes reads as clutter. Two layouts, one rule.
- Forgetting the car. If the car lives in the garage, the wall you want is the one opposite the bonnet, not the one beside it.